Showing posts with label virtual studio tour. Show all posts

Thursday, February 23, 2017

The Ivy Ranch on the Brazos River: An Art Commission

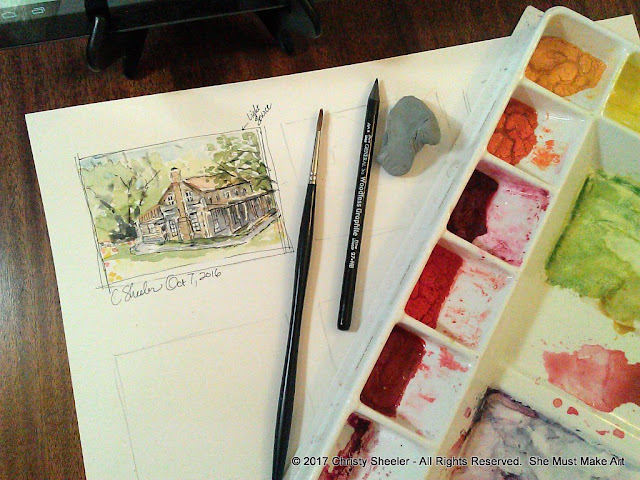
The first loose watercolor sketch shows my vision for the artwork.An adventure begins with a thumbnail watercolor sketch.

A friend of a friend, Julie and I were bridesmaids in a wedding more than twenty years ago.  She has been following my artwork online.  She sends me a private message.  She's interested in commissioning an artwork.  This sounds interesting to me!  We message each other about the basic details, then she shares the photos with me.  From there, I begin to doodle away with pens and watercolors...I see where my inspiration takes me.  The vision for this artwork becomes clearer in my mind.


The vision for this artwork becomes clearer in my mind.

We arrange to chat on the phone, talk through more details and make a plan.  I need to hear about what is important to her, the buyer/collector.  She tells me about this place on the Brazos River in Texas.  She talks about the wonderful history; it was built in the early 1800's, a stagecoach stop between Austin and San Antonio.  I'm drawn in and curious to know more.  I am caught up in imagining what stories this place could tell and the people it's sheltered there.  

Wildflowers and a dog named Frindle

She would love to have the little dog, Frindle included along with the types of plants and wildflowers that would be growing there.  We talk about sizes and prices.  With that decided, I begin to write up a contract, we take care of the deposit, and the real work begins!


Creating the first watercolor thumbnail sketch for this project with pen and watercolor.


The first watercolor sketch is loose and light in style.


The buyer gets a sneak-peak

As I work, I stop to take photos often which is how this blog has developed until now.  Throughout the process, I share updates through photos for the buyer.  An online album with a link by email makes it a breeze for the buyer to see what's taking place in my art room.  It's a sneak-peak, behind the scenes way for me to make sure we're on track.  It builds the excitement on both ends of the arrangement!

The proper perspective is drawn out

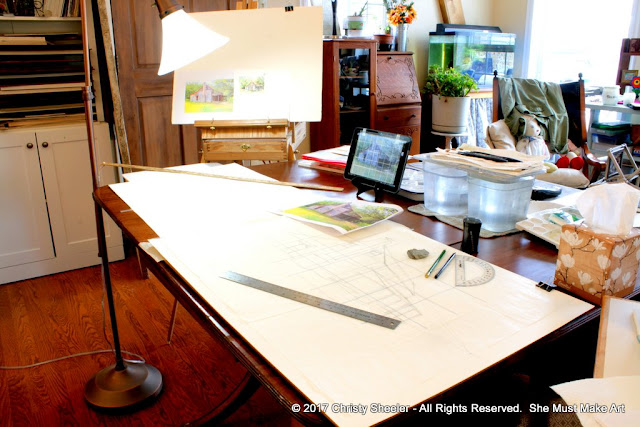
The first sketches begin on a large sheet of tracing paper.  Below it, I lay a sheet of posterboard with a drawn grid.  Because the perspective in this drawing is the key foundation, I work through finding the vanishing points at far left and right.  Once the drawing is completely ready, it's time to transfer it to the watercolor paper.  The buyer has chosen 22" x 30" for the final artwork size...a full sheet of 300 lb. watercolor paper.


The drawing is created using two point perspective on tracing paper with pencil and ruler.


The sketch is ready to be transferred to watercolor paper.


I transfer the sketch to watercolor paper with the aid of graphite transfer paper.


The color mixing fun begins!

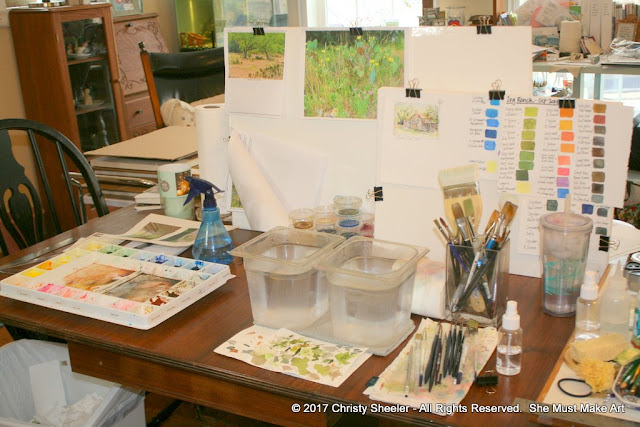
Working with the art reference photos and the inspiration watercolor sketch, it's time to work through color mixing to set the tone.  This takes time but it's part of the process that gets the plan more worked out in my mind.  By the time this step is complete, I'm all excited to move on and begin to paint with these beautiful combinations of pigment.


Color mixing for the artwork with reference book and previous color mixing charts.


The color mixing chart for this artwork is ready to go!


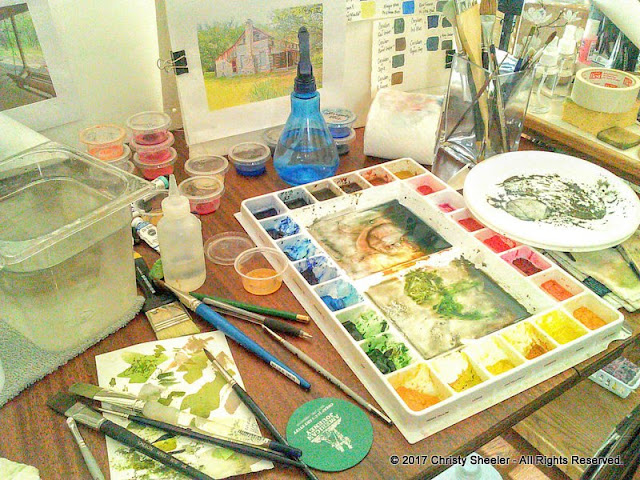
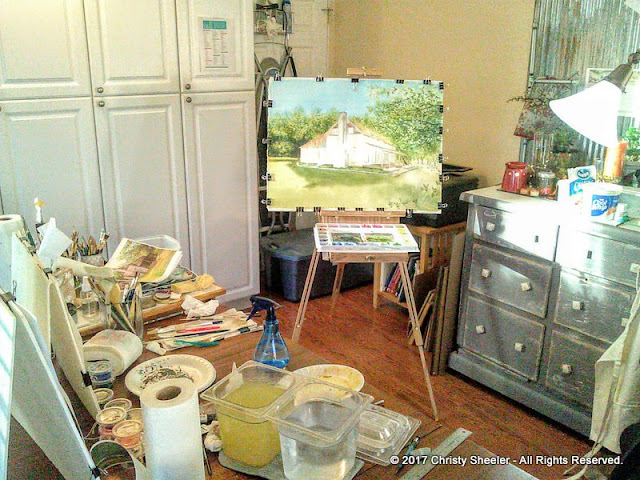
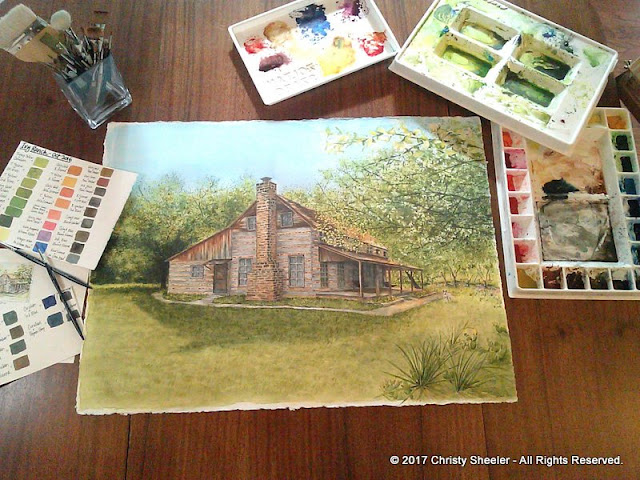
A glance at my art table, filled with palettes, water containers and brushes.


I am ready to move to the next stage: the watercolor on paper!

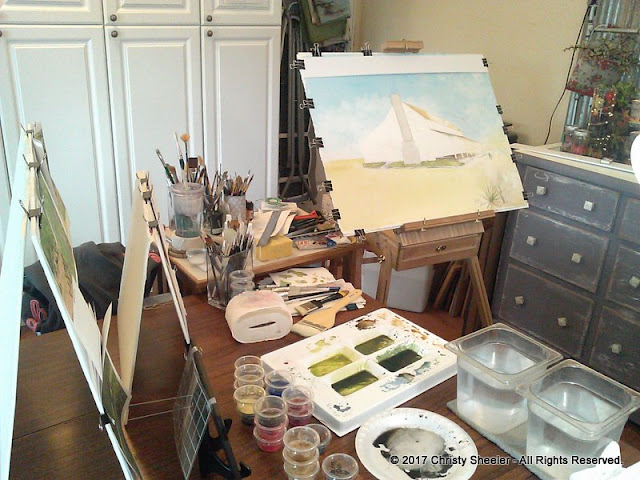
Before any color is applied to the paper, I mask out the small details that need to stay white.  Now, I can begin the large washes of color.  I use a large brush and make sure I have a generous amount of color mixed so I can completely finish an area without interruption.  The sky must be completely filled without stopping or unwanted hard lines will form there.  This artwork progressed so smoothly from one stage to another.  Pre planning makes a difference when the painting begins.


A view of my work area and the artwork in its beginning stages.


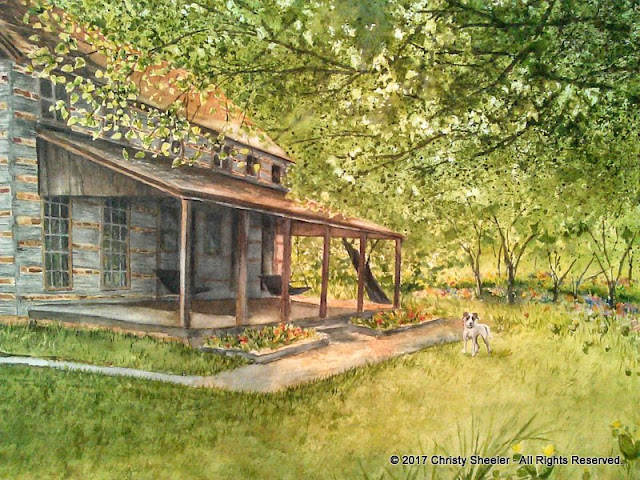
Artwork by Christy Sheeler, The Ivy Ranch on the Brazos River


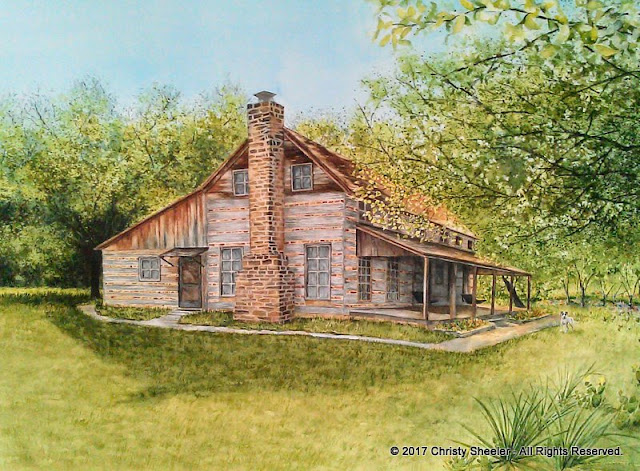
The Ivy Ranch on the Brazos River by Christy Sheeler


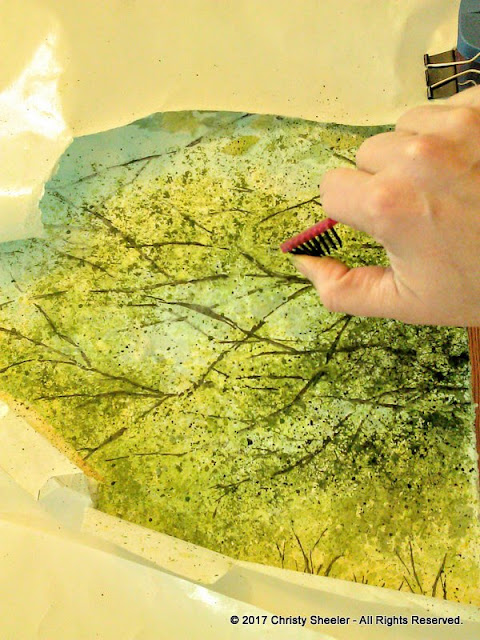
A spattering with the toothbrush in a contained area

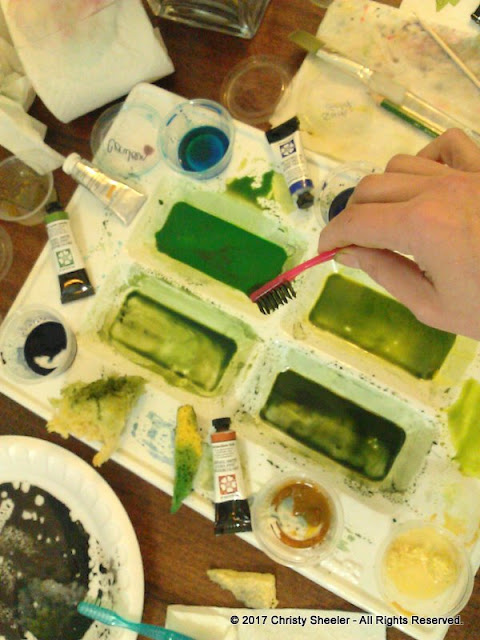
Spattering with a toothbrush comes in handy at this point!  It's also makes a mess.  I need a plan for keeping the spatter where I want it.  The top right area of the painting will have tree branches with light coming through all dappled and delicate so I need to have a plan.  A large roll of freezer paper is a terrific way to protect surfaces.  Here, it protect the rest of the painting surface.  I place the freezer paper over the painting, cut away to reveal where I plan to work, and mix up my greens.  There's a bit of spattering and then I step away to pause while I study the artwork.  Without some caution, I'll take it further than I had meant and feel some regret...a little restraint is a good idea!


The Ivy Ranch on the Brazos River


The palette, tubes of pigment, and a toothbrush for spatter.


The watercolor is spattered to create an effect of leaves on trees.


Spattering watercolor with a toothbrush.


Freezer paper is used for a contained area for spattering watercolor.


From one area to another, with careful thought...

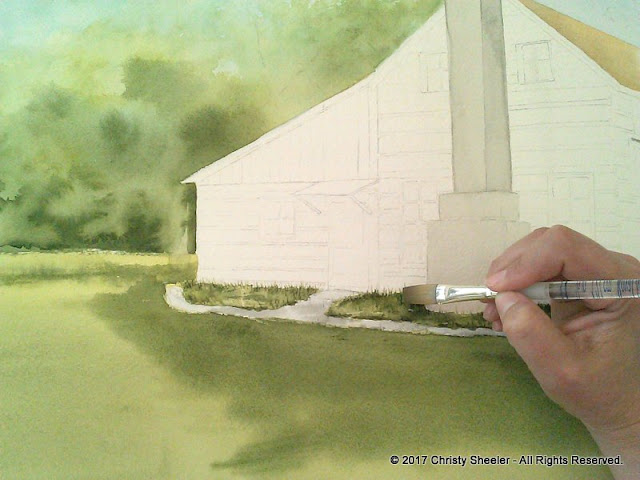
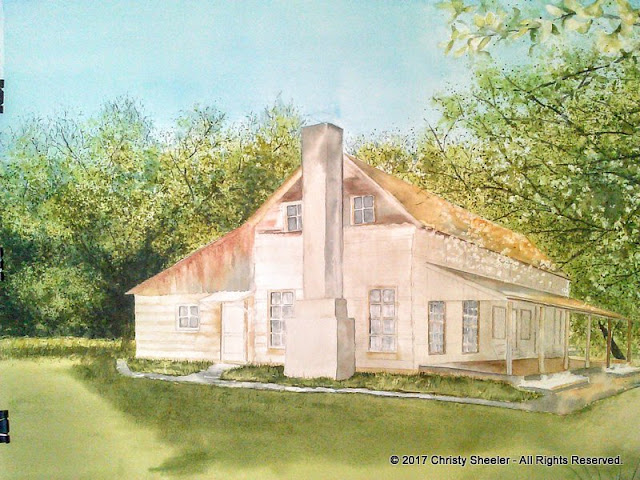
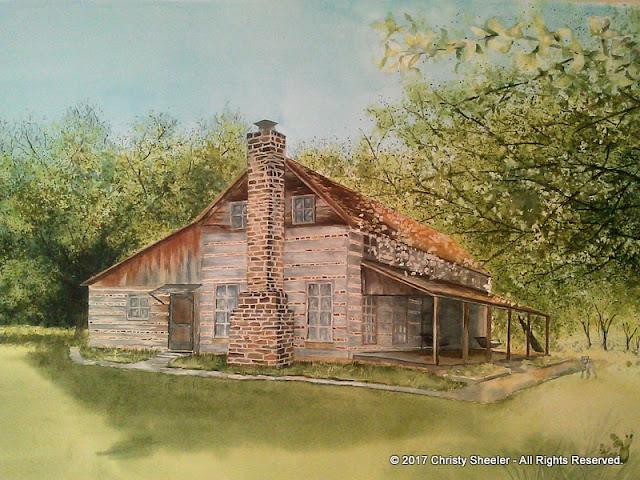
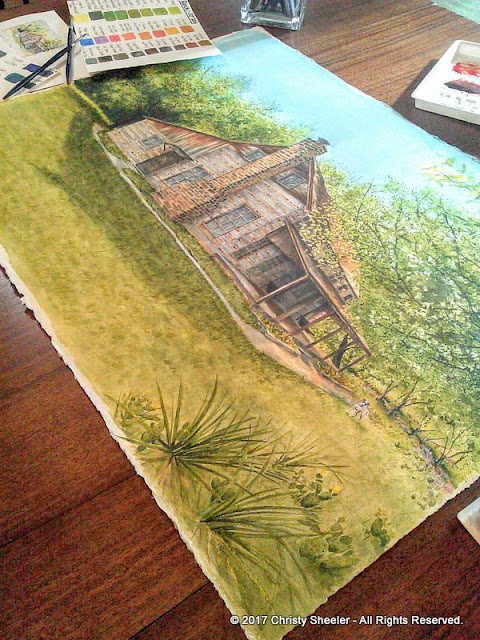
It's time to turn my focus to the main subject, the cabin itself.  I work in layers of pigment so the base layers will build a rich vibrancy at the end.  From one area to another, I study the reference photos and go from there, developing it one piece at a time.  One day, I might focus on the rock work of the fireplace.  Another painting session, I focus on the window and door frames.  When two wet areas are directly touching, the pigment flows between those areas.  This means there's strategy that must be in place.  I carefully select the layers in each area and which area is ready for more brushwork.


The Ivy Ranch on the Brazos River by Christy Sheeler


Wow, what a beautiful mess?!

As these photos clearly show, I have a large yet controlled mess in my art room.  There are painting sessions where I need to work quickly without interruptions.  At other times, I can frequently take breaks for a snack or a few stretches before I return to do a bit more.  At the end of each work day, I spend about 15 minutes cleaning up and preparing the flat surfaces for the next day.


Another glance at the messy work table during a painting session.


The work continues on Ivy Ranch on the Brazos River.


The Ivy Ranch on the Brazos River by Christy Sheeler


The Ivy Ranch on the Brazos River by Christy Sheeler


The Ivy Ranch on the Brazos River by Christy Sheeler


The artwork is reaching its final stages

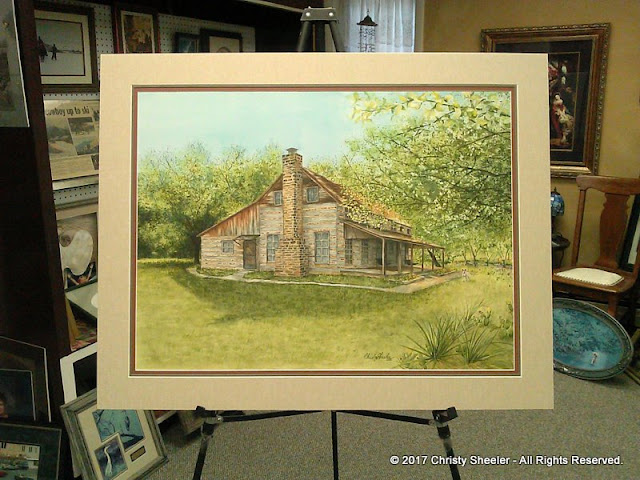
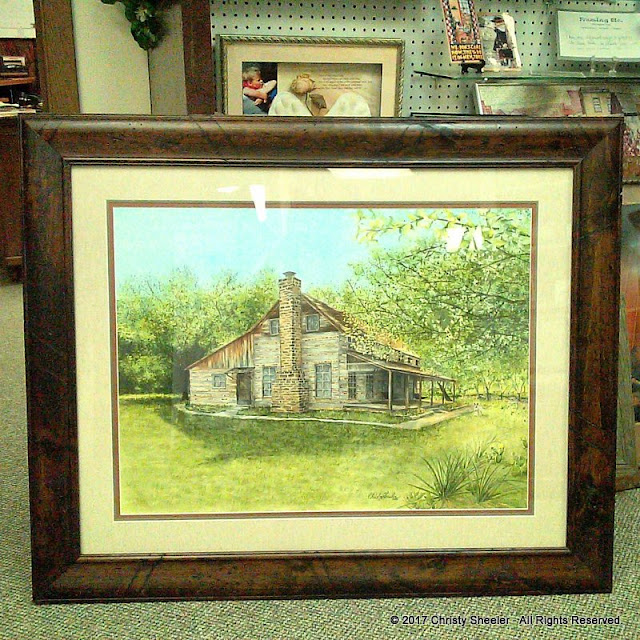
Once the artwork is completed, it's time to take it to the framer!  I do not ship framed artwork usually.  I have been very afraid to ship with artwork under glass.  The buyer is sure she would really prefer to have it arrive framed; she won't have that extra detail to arrange at her end.  There's a local frame shop here and I've had work done there in the past.  As we talk, I am pleased that Chary, the framer, is happy to help me with these arrangements.  We actually meet 2 weeks before the painting is finished and go over mat and frame choices.  We narrow down the best options and then I send the final options to the buyer.  The buyer makes the final decision within minutes!  The framer is able to make sure she'll have the mat and frame for our appointed done date.  What I love about this process so much...the frame molding was made here in Montana as well.  When all  put together, it really is a fantastic presentation!

What do you think?  Are you tempted to walk into this relaxing and serene place?  Can you see yourself enjoying an hour in one of the porch swings?  The cactus have their blooms and Frindle is ready to give you a hearty hello!  There's a rugged feel to the building but it's not neglected in any way.  The strength of its construction with hefty logs and rock outfitted with so many windows.  What a haven and retreat it must be!  One day, I hope to be able to visit this place on the Brazos River, to plant my feet on the ground there and take it in...I'm just sure that I captured its charm.


The Ivy Ranch on the Brazos River by Christy Sheeler


A closer view of The Ivy Ranch on the Brazos River by Christy Sheeler


The Ivy Ranch on the Brazos River by Christy Sheeler


The Ivy Ranch on the Brazos River by Christy Sheeler


Final mat and frame choice for The Ivy Ranch on the Brazos River watercolor by Christy Sheeler


The Ivy Ranch on the Brazos River with double mat.


The Ivy Ranch on the Brazos River with double mat and frame.


Thank you to Julie for this opportunity.  She is a dream buyer/collector!  I'm so thankful that she chose to work with me.

Thank you to Chary at Framing Etc. for working with me on the matting, framing and packaging.  She does excellent work! I had peace of mind in the final steps of the process, due in part to her skill and attention to detail.  We spent several hours together as this artwork was carefully packaged up and shipped off to the buyer.

Thank you to my family for making it possible for me to create work like this from home.  My husband and two teens are supportive and encouraging in so many ways.  I counted on their input for several critique sessions.  My husband would come straight from work and go right to cooking the evening meal for us.  My kids have pitched in at home and have developed an eye for detail!

Thank you to all of you who stop by to visit me here.  I look forward to getting back into writing and sharing in the weeks to come.  I have been sorting through reference photos for upcoming artworks.  Several have my attention and I'm working through test runs toward the final artworks.  When I'm in the middle of a creative flurry, I post more frequent updates on Instagram and Facebook so check out my profiles there!

If you are interested in a private art commission, check out the Private Art Commission information.  There you'll find all the details for arranging to have an artwork created just for you!

From my messy and chaotic art room, I wish you a beautiful and creative week!


Christy

-She must make art.


An Update:

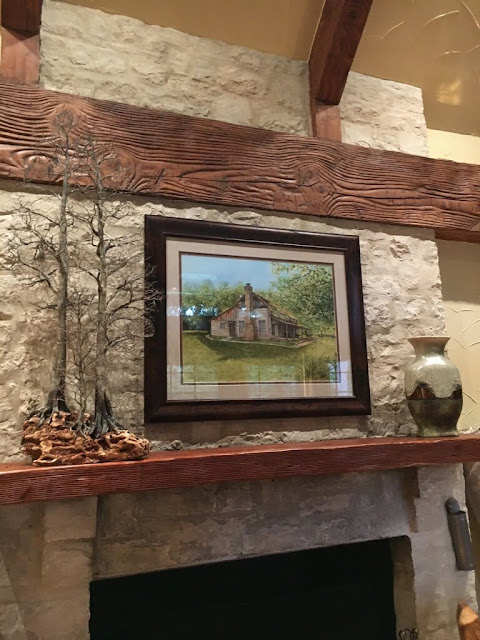
July of 2017, Julie (the client) sent me photos of this artwork hanging in its new home.  It has been my intention to add these photos here as the final reveal.  So here is the finished artwork hanging in its Texas location.


Ivy Ranch on the Brazos River original artwork by Christy Sheeler


Ivy Ranch on the Brazos River original artwork by Christy Sheeler


Saturday, April 30, 2016

Dancing Poppies Watercolor Painting

I meant to highlight each of the poppies watercolor paintings.  In the series of four paintings completed together, I shared each in a post of its own.  All except this one.
It's really no wonder; I've felt a bit scattered and disorganized lately.  My success in managing so many aspects of the art process varies with life's seasons.  I'm still learning how to keep it all together between artistic pursuits and family needs.

Bear with me, I'm finding the rhythm.  Maybe like learning a complicated dance step?


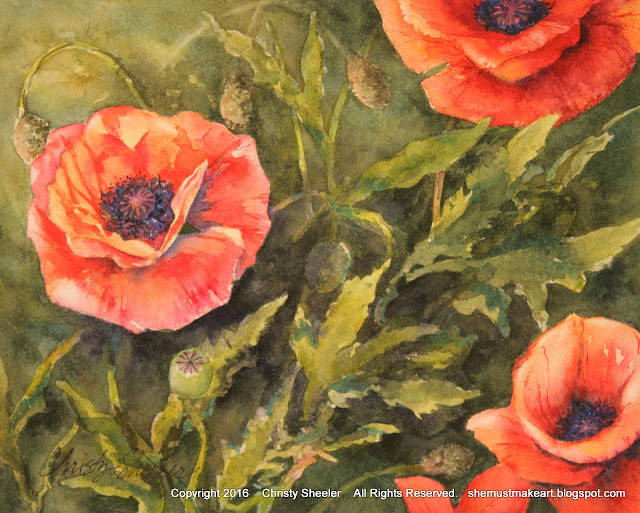
I would like to present Dancing Poppies, the completed watercolor painting!  It was completed in late February 2016.  The original watercolor painting is available on Etsy in my Christy Sheeler Artist shop.  (This post added April 2016.)  

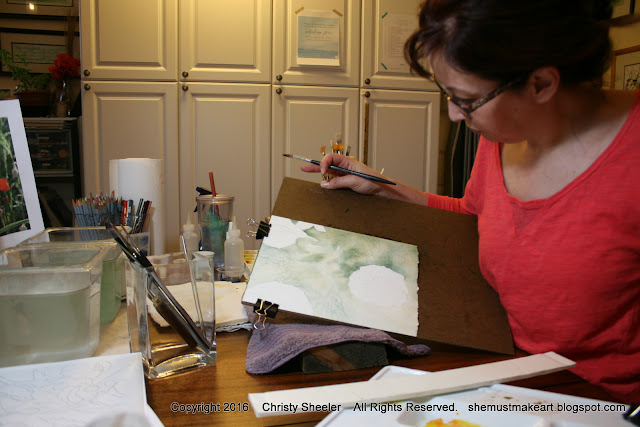
Along the way, as the blog develops, I'm enjoying being able to share behind-the-scenes views of the process, like a virtual studio tour!  Hey, I'm so glad you had time to drop in today... Can I offer you something to drink, iced coffee, water, green tea?  Let's get started, it's just so fun to have friends stop by with eagerness to see the art studio.


Sketch It Out 


So this painting began as a simple value sketch with Sharpie fine point black marker.  You can see there's a vague and loose feel to the sketches.  Using a black and white print of the photographs helps me see the range of values from lightest to darkest areas.  This is not a regular habit of mine and I'm still deciding whether I'll use it on a regular basis.  I've got a feeling I'm already doing this subconsciously in my planning process.  The composition of this piece is not one that follows the traditional rules.  Without realizing it, I have a composition that breaks rules.


value studies sketches for poppies watercolor series


A Photograph for Reference


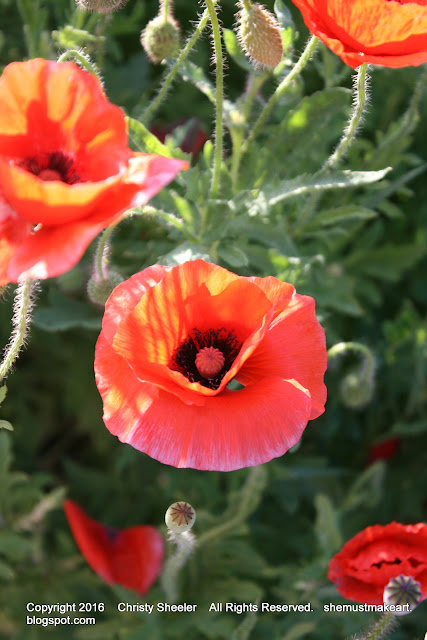
The photo reference I used for this piece with one change:  the flower at the left is reversed and placed at the far right.  This was a bit of a challenge when it came time to paint it with the light coming from the top left.  The light striking the petals needs to be consistent for all the flowers.  Mind bending?  Yes.  I still do it to myself anyway.


Dancing Poppies art reference photo by Christy Sheeler 2016


Tracing Paper Has The Details


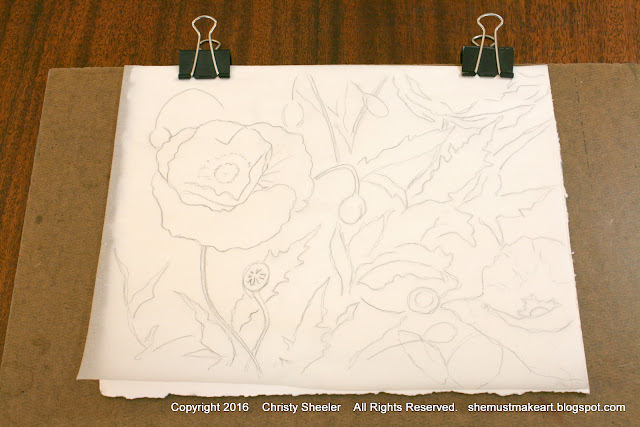
Tracing paper has become my favorite for sketching.  It's easy to draw in a detailed way and erasing is effortless.  Now, with the sketch for Dancing Poppies, clipped to the board, I can transfer it to the watercolor paper with a sheet of carbon transfer paper sandwiched between the layers.


Poppies sketch on tracing paper.  Dancing Poppies watercolor painting planning stages.


Let the Watercolor Do Its Thing


The first washes of watercolor pigment are soft and loose.  I begin with the background for this piece.  Where I begin varies with each painting.  There are some that begin with the main subject.  Here, I had such joy in working on wet paper, allowing the pigment to flow where it pleased.  When I am concerned about pigment moving into delicate petal areas, I apply masking fluid while the paper is dry.  I applied masking fluid in stages so that stems and leaves had a soft wash of the background as their base color.  It's much easier to be free and spontaneous when I don't have to work carefully around details.


A photograph of beginning the watercolor background for Dancing Poppies.


In the background, the other three watercolor paintings in the poppies series are resting on the easel.  I have them there to study at a glance.  If there are problems, I'll usually notice them in passing more than while painting on them for an extending period of time.  There will be a final critique session with that great husband critic at the end.  Dancing Poppies, on the studio table, has a background that's building with layers of watercolor pigments.  It's even taken on a golden tone in the upper left area of the painting.


watercolor poppies series in progress


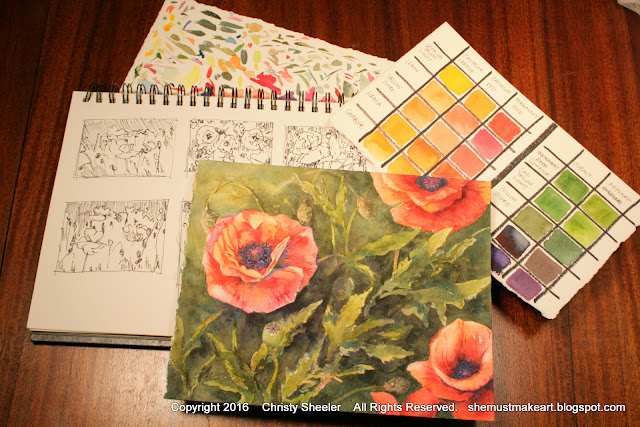
For some reason, I was so busy in the throes of creativity, there are no photos of this piece while the petals were being painted.  Sometimes, it happens like that.  I get a spurt of crazy get-this-going energy and there's no stopping until it's done.  So the completed Dancing Poppies with the tools used along the way.  The value studies, the sample brushstrokes of color, and the color mixing grid all help me through the process to the finish.


Dancing Poppies completed view with reference tools.


A shot of the studio table while work is going on shows my typical set up.  Occasional time-outs are called for some clean up.  It seems that in the flurry of paintbrushes and pigment, things get cluttered and out of sorts.  At the end of the day, I'll bring it all back to tidy again so it won't be an intimidating sight the next morning. 


Dancing Poppies watercolor painting completed viewed on studio table.


The Finished Painting


Dancing Poppies, the rule breaker for composition design.  The sunlit leaves weaving their way through at an angle seem to help it work...at least in my mind's eye.


Dancing Poppies Watercolor Painting


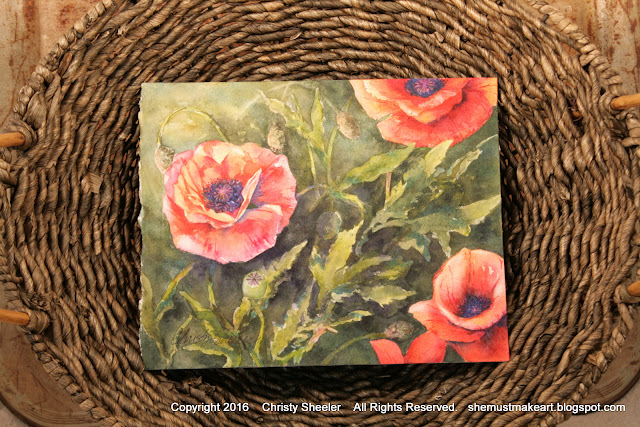
Dancing Poppies Watercolor Painting in decorative display


 Dancing Poppies by Christy Sheeler 2016


Well, I feel better knowing that Dancing Poppies got its own reveal.  Maybe no one will ever know the difference...but if you're here reading this, it did make a difference!

So what do you think of composition?  Do you like the more traditional or the unusual view better?  Maybe you've never really thought about it before.  This week, here's a challenge:  keep your eye on the look out for art that you enjoy most.  Look for the way the main parts are arranged.  Do you think it's traditional or not?

-Christy
she must make art.


P.S.  To see the blog post about the full process of all four poppies watercolor paintings in this series, click:  Watercolor Poppies Complete Art Process.


Thursday, April 28, 2016

The Vintage Tractor in Watercolor

a virtual studio tour the vintage tractor Christy Sheeler artist 2016

Virtual Studio Tour!

It's taken a while now but I'm happy to reveal
The Vintage Tractor watercolor painting.  After so many landscape and floral subjects, it's been a treat to take some time with the faded paint, dents, and rust!

More than ten years since my last mechanical type subject...
So many years, I'll have to check with my car-guy husband to know for sure which one was most recent before this one.


As I've shared often, I love the hunt for all variety of items from a time gone by.  It's like these items have a story to tell.  They tell about the culture and the daily living of that time.  When I saw this old tractor sitting out in the elements, it seemed to have character all its own.  Only later did my husband explain to me that it was pieced together with some real ingenuity.  Automobile parts were used by the skilled hands that put this tractor together.  He tells me how someone who knows cars will recognize the unconventional parts used for making it a tractor.  My untrained eye did not see that.  There was just something unusual and interesting about it...that's all I could figure when I chose this as an art reference.

Have you ever seen a completed project and wondered, "how did they do that?"  With artwork, I believe that happens so I enjoy sharing the behind-the-scenes progression of artwork.  Well, here goes!